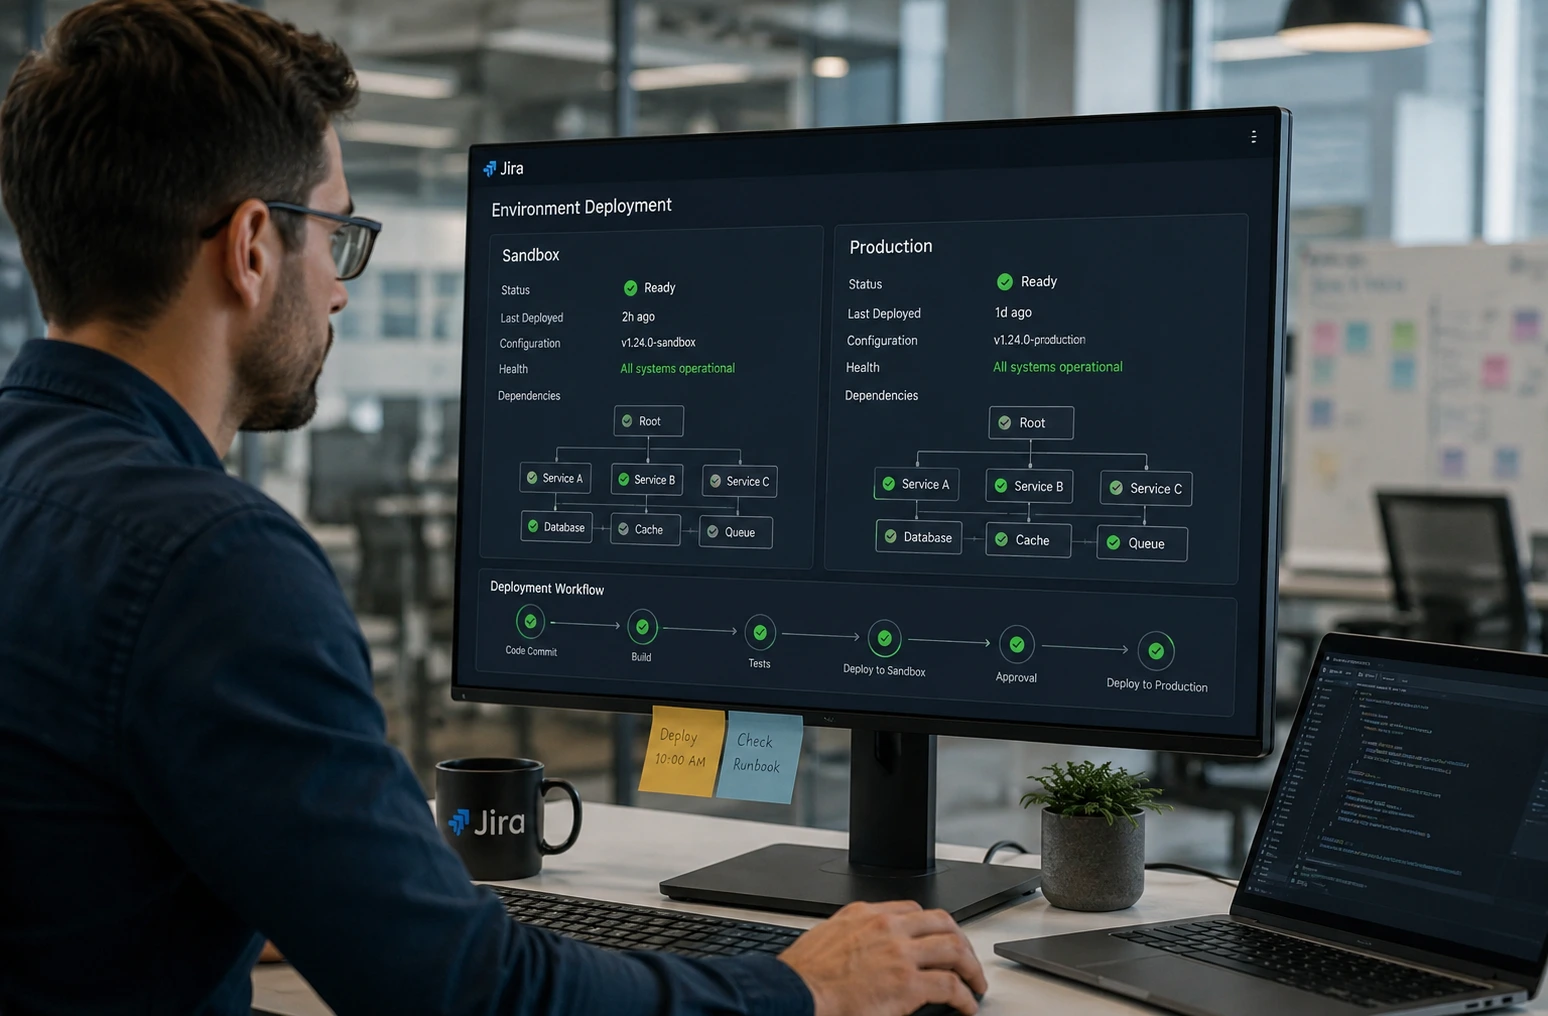
Jira Sandbox to Production Migration: A Step-by-Step Checklist
You’ve built and verified your changes in a Jira sandbox: new custom fields, streamlined workflows, updated permission schemes, and refined automation rules. Everything works seamlessly. Now comes the part that actually impacts your business: moving those changes into production without breaking existing operations.
This is where many migrations go sideways. The issue rarely stems from flawed sandbox configurations; instead, it arises because sandbox and production environments quietly drift apart over time. That drift inevitably surfaces at the worst possible moment: mid-deployment.
This step-by-step checklist outlines how to safely migrate Jira sandbox changes to production, highlights common pitfalls, and provides recovery strategies if issues arise.
Why Jira Migrations Are Riskier Than They Look
A sandbox is intended to mirror production. In practice, maintaining parity across environments without continuous sync tools is challenging, especially when attempting to copy Jira configuration to another site manually.
- Validation Blockers: A custom field set as optional in your sandbox might be mandatory in production, causing validation failures during real user interactions.
- Missing References: A workflow transition may reference a status or issue type that doesn't exist in production, or exists under a slightly different name.
- Silent Failures: Automation rules tied to sandbox-specific user groups or project keys can fail silently after deployment.
- No Native "Undo": Jira lacks a simple native rollback button for configuration changes. Reverting a flawed migration manually requires significant effort.
Recognizing these risks doesn't make sandboxes unreliable. It simply highlights that deployment requires a structured process rather than an "export and hope" approach.
Before You Touch Production: Pre-Flight Checks
Complete these foundational checks prior to initiating any migration:
- Inventory Every Change: Avoid relying on memory. Document every custom field, workflow step, screen scheme, and automation rule modified in the sandbox.
- Verify Target Dependencies: Confirm that external dependencies such as custom fields, user groups, roles, and status values exist in the target environment or the import will fail or behave unpredictably.
- Audit Field and Status Names: Ensure exact naming alignment. A field named Priority Level in the sandbox versus Priority in production can lead to unexpected behavior.
- Back Up Production: Take a full production backup immediately before deploying.
The Jira Sandbox-to-Production Checklist
Follow this sequential process to keep your deployment predictable and zero-downtime:
1. Freeze Sandbox Changes
Stop all administrative edits in the sandbox once the migration scope is defined. Deploying against a moving target introduces unaccounted variables.
2. Compare Sandbox Against Production
Compare the configuration schemas of both environments before deploying. Identifying structural differences early is an effective way to prevent production incidents.
Tip: Performing visual schema diffs manually across large instances can be time-consuming. Automated comparison tools can highlight schema drift, missing fields, and ID mismatches instantly.
3. Resolve Dependency Gaps
Address every flagged discrepancy such as missing status values, unassigned custom fields, or absent user groups before importing primary assets.
4. Get Sign-Off
Have a peer or project stakeholder review the deployment scope and pre-flight checks. Peer reviews help catch missing edge cases prior to deployment.
5. Migrate in Strict Dependency Order
Deploy assets in their natural logical sequence to prevent configuration import errors:
- Phase A: Custom Fields, Contexts, and Statuses
- Phase B: Field Configurations, Screens, and Issue Types
- Phase C: Schemes (Permission, Notification, Field Configuration)
- Phase D: Workflows and Workflow Schemes
- Phase E: Automation Rules and Integrations
If you regularly manage configurations across multiple Jira instances, learning how to sync Jira workflows across multiple sites will help maintain consistent governance during this step.
6. Test on a Non-Critical Project
Test the updated configuration on a low-stakes or test project first. Whether you use standard team-managed setups or follow established guides on how to use Jira for project management, verifying transition behaviors, field requirements, and post-functions before applying changes globally is essential.
7. Validate in Production
Perform post-deployment spot checks on modified workflows, permission visibility, and automation triggers. Confirming an import succeeded is distinct from verifying it functions as intended.
8. Document the Deployment
Record what was deployed, who approved it, and when it occurred. Maintaining an immutable record through a detailed Jira audit log simplifies troubleshooting if issues are identified later.
Common Failure Points to Watch For
Custom Field ID Mismatches
Fields may share identical names across environments while possessing different internal IDs, which can break automated scripts and API integrations.
Skipped Post-Functions or Validators
Native Jira imports occasionally skip specific post-functions or validators without explicit warning banners.
Concurrent Admin Overwrites
Uncoordinated deployments by multiple administrators working on shared schemes can silently overwrite changes.
What to Do If a Migration Fails
Isolate the Scope
Compare your pre-migration state against the current state to identify affected components.
Fix Forward First
Because native rollbacks are limited, correcting the specific configuration error in production is often faster than attempting a full revert.
Consult the Audit Trail
Review deployment records and change history to isolate when and where the configuration diverged.
Scaling Beyond Manual Checklists
A manual checklist works reliably for small teams managing isolated Jira instances with infrequent updates. However, manual overhead increases significantly when managing:
- Three or more environments (e.g., Dev → Staging → Sandbox → Production)
- Frequent release cycles (weekly or continuous changes)
- Distributed admin teams making concurrent updates
- Strict compliance requirements demanding automated, immutable audit logs
When change volume increases, manual tracking becomes a bottleneck.
Automate Your Jira Deployments with Atkot
Atkot provides an automated environment management platform for Jira admins:
- Instant Environment Comparison: Deep-compare Jira environments to detect schema drift, field ID mismatches, and dependency gaps prior to deployment.
- Dependency-Aware Syncing: Automatically package and migrate workflows, fields, and automation rules in the correct deployment order.
- Complete Audit Trails: Track every deployment with auto-generated change logs to meet governance and compliance standards.
- Configuration Protection: Identify potential deployment risks before they impact end users in production.
Understanding what Atkot is and how specialized automation tooling operates allows teams to compare environments, catch schema mismatches early, and maintain a clean deployment history without the overhead of tracking every dependency by hand.